
Prep Time: 10 minutes
Cook Time: 15 minutes
Total Time: 25 minutes
Cooling Time: 2 hours
Total Yield: 3 pint jars (approximately 6 cups)
Cuisine: British
Course: Condiment / Spread / Dessert Filling
Difficulty: Easy
Ingredients
- 1½ cups fresh lemon juice (about 8–10 lemons)
- 2 tablespoons finely grated lemon zest
- 2 cups granulated sugar
- 6 large eggs
- 2 large egg yolks
- 1 cup unsalted butter, cut into cubes
- ¼ teaspoon salt
- 1 teaspoon vanilla extract (optional)
Equipment
- Medium saucepan
- Whisk
- Fine mesh strainer
- Measuring cups
- Measuring spoons
- Citrus juicer
- Microplane or zester
- Heat-resistant spatula
- Sterilized mason jars with lids
Instructions
Step 1: Prepare the Lemons
Wash the lemons thoroughly under warm water. Dry them completely before zesting.
Using a fine zester, remove only the bright yellow peel, avoiding the bitter white pith.
Juice the lemons and strain the juice to remove seeds and excess pulp.
Step 2: Mix the Base
In a medium saucepan, whisk together:
- Eggs
- Egg yolks
- Sugar
- Salt
Continue whisking until the sugar begins dissolving.
Add:
- Fresh lemon juice
- Lemon zest
Mix until smooth.
Step 3: Cook the Lemon Curd
Place the saucepan over medium-low heat.
Cook while whisking constantly.
After about 8–12 minutes, the mixture will gradually thicken.
Do not allow it to boil rapidly, as the eggs can scramble.
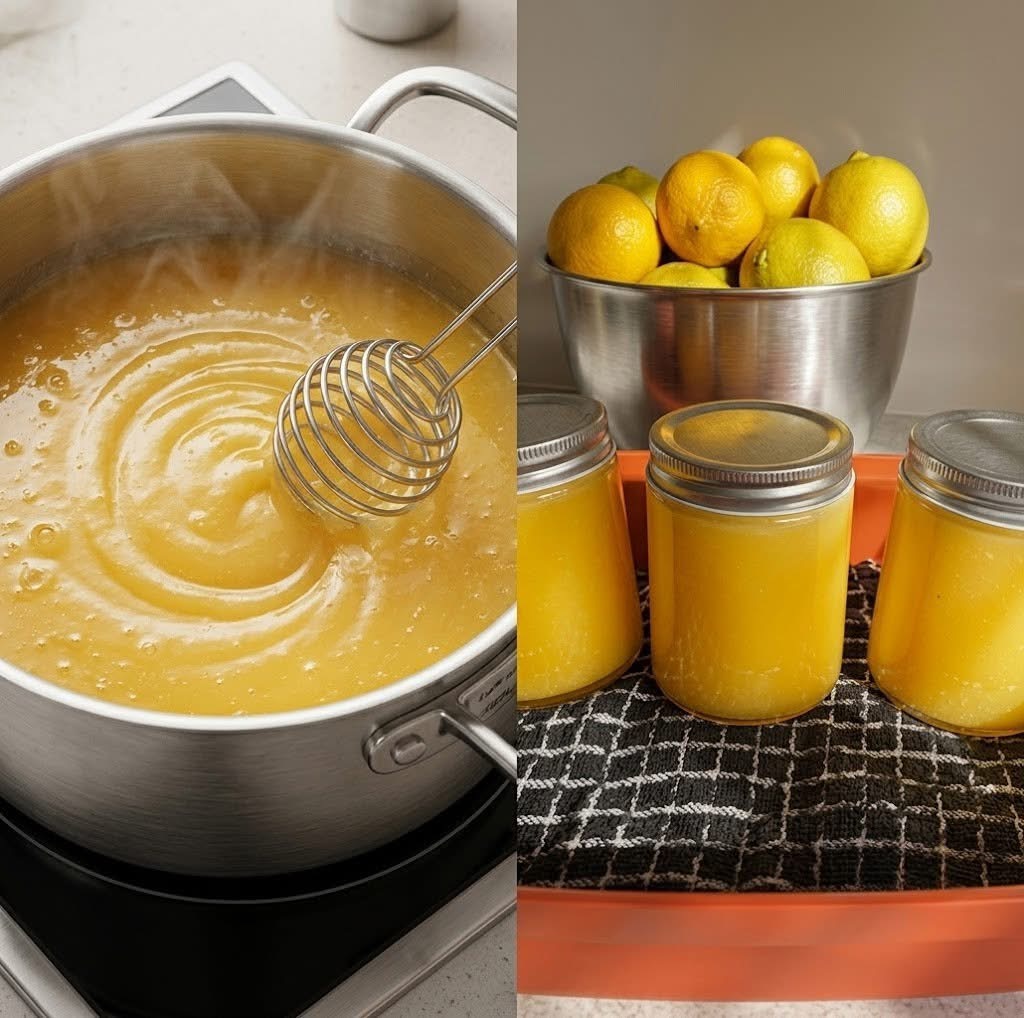
The curd is ready when it coats the back of a spoon and reaches approximately 170°F (77°C).
Step 4: Add the Butter
Remove the saucepan from the heat.
Add the butter one piece at a time.
Whisk continuously until each cube melts completely before adding the next.
The butter creates the silky texture and glossy appearance that makes lemon curd irresistible.
If using vanilla extract, stir it in after all the butter has melted.
Step 5: Strain
Pour the lemon curd through a fine mesh strainer into a large measuring cup or bowl.
This removes:
- Lemon zest (if preferred)
- Tiny bits of cooked egg
- Any pulp
The result is an incredibly smooth and creamy curd.
Step 6: Fill the Jars
Pour the warm lemon curd into sterilized mason jars.
Leave about ¼ inch of headspace.
Seal the jars with clean lids.
Allow them to cool to room temperature.
Refrigerate for at least 2 hours before serving.
Recipe Tips
- Fresh lemons provide the brightest flavor.
- Stir constantly while cooking to prevent curdling.
- Medium-low heat is the secret to a silky texture.
- Never let the mixture come to a hard boil.
- Use unsalted butter for better flavor control.
- Straining ensures a perfectly smooth finish.
- Chill completely before serving for the best consistency.
Flavor Variations
Meyer Lemon Curd
Replace regular lemons with Meyer lemons for a sweeter, floral flavor.
Lime Curd
Substitute fresh lime juice and zest for a tropical twist.
Orange Curd
Use fresh oranges for a milder citrus spread.
Mixed Citrus Curd
Combine lemon, lime, and orange juices for a more complex flavor.
Berry Lemon Curd
Blend fresh raspberries or strawberries into the finished curd for a fruity variation.
Serving Suggestions
Lemon curd is incredibly versatile. Enjoy it:
- Spread on toast, muffins, or biscuits
- Layered between vanilla cake
- Spooned over pancakes or waffles
- Mixed into yogurt
- Folded into whipped cream
- Filled inside cupcakes
- Served with cheesecake
- Drizzled over ice cream
- Paired with scones
- Used as a tart filling
Storage
Refrigerator
Store in sealed jars for up to 2 weeks.
Freezer
Freeze for up to 3 months.
Thaw overnight in the refrigerator before serving.
Can You Preserve Lemon Curd?
Because lemon curd contains butter and eggs, it is generally recommended to store it in the refrigerator or freezer rather than using standard home water-bath canning methods. Always follow current food safety guidance if preserving for longer-term storage.
Common Mistakes to Avoid
- Cooking over high heat
- Skipping constant whisking
- Using bottled lemon juice
- Overcooking until grainy
- Not straining the finished curd
- Adding butter before thickening
- Filling unsterilized jars
Why You’ll Love This Recipe
- Bright, fresh lemon flavor
- Silky smooth texture
- Easy to make with simple ingredients
- Perfect for desserts and breakfast
- Great for gifting
- Better than store-bought
- Freezes well
- Beautiful vibrant color
Frequently Asked Questions
Why didn’t my lemon curd thicken?
It likely needs a few more minutes of gentle cooking. Continue whisking over medium-low heat until it coats the back of a spoon.
Can I reduce the sugar?
Yes, but reducing it significantly will make the curd more tart and may slightly affect its texture.
Can I use bottled lemon juice?
Fresh lemon juice is strongly recommended for the brightest flavor and best aroma.
Why strain the curd?
Straining removes any tiny bits of cooked egg and creates an exceptionally smooth, professional-quality finish.
Can I use salted butter?
Unsalted butter is preferred so you can control the salt level.
Recipe Summary
This homemade Lemon Curd is rich, creamy, and wonderfully tangy with a vibrant citrus flavor that elevates everything from toast to elegant desserts. With just a handful of ingredients and less than 30 minutes of cooking, you’ll have jars of silky lemon goodness ready to enjoy. Once you taste the freshness and smooth texture of homemade lemon curd, you’ll find countless delicious ways to use it.
Nutrition (Per Serving – approximately 2 tablespoons)
- Calories: 120
- Protein: 1 g
- Carbohydrates: 14 g
- Sugars: 13 g
- Fat: 7 g
- Saturated Fat: 4 g
- Cholesterol: 60 mg
- Sodium: 20 mg
- Fiber: 0 g
- Vitamin C: 10% DV
- Calcium: 1% DV
- Potassium: 30 mg