
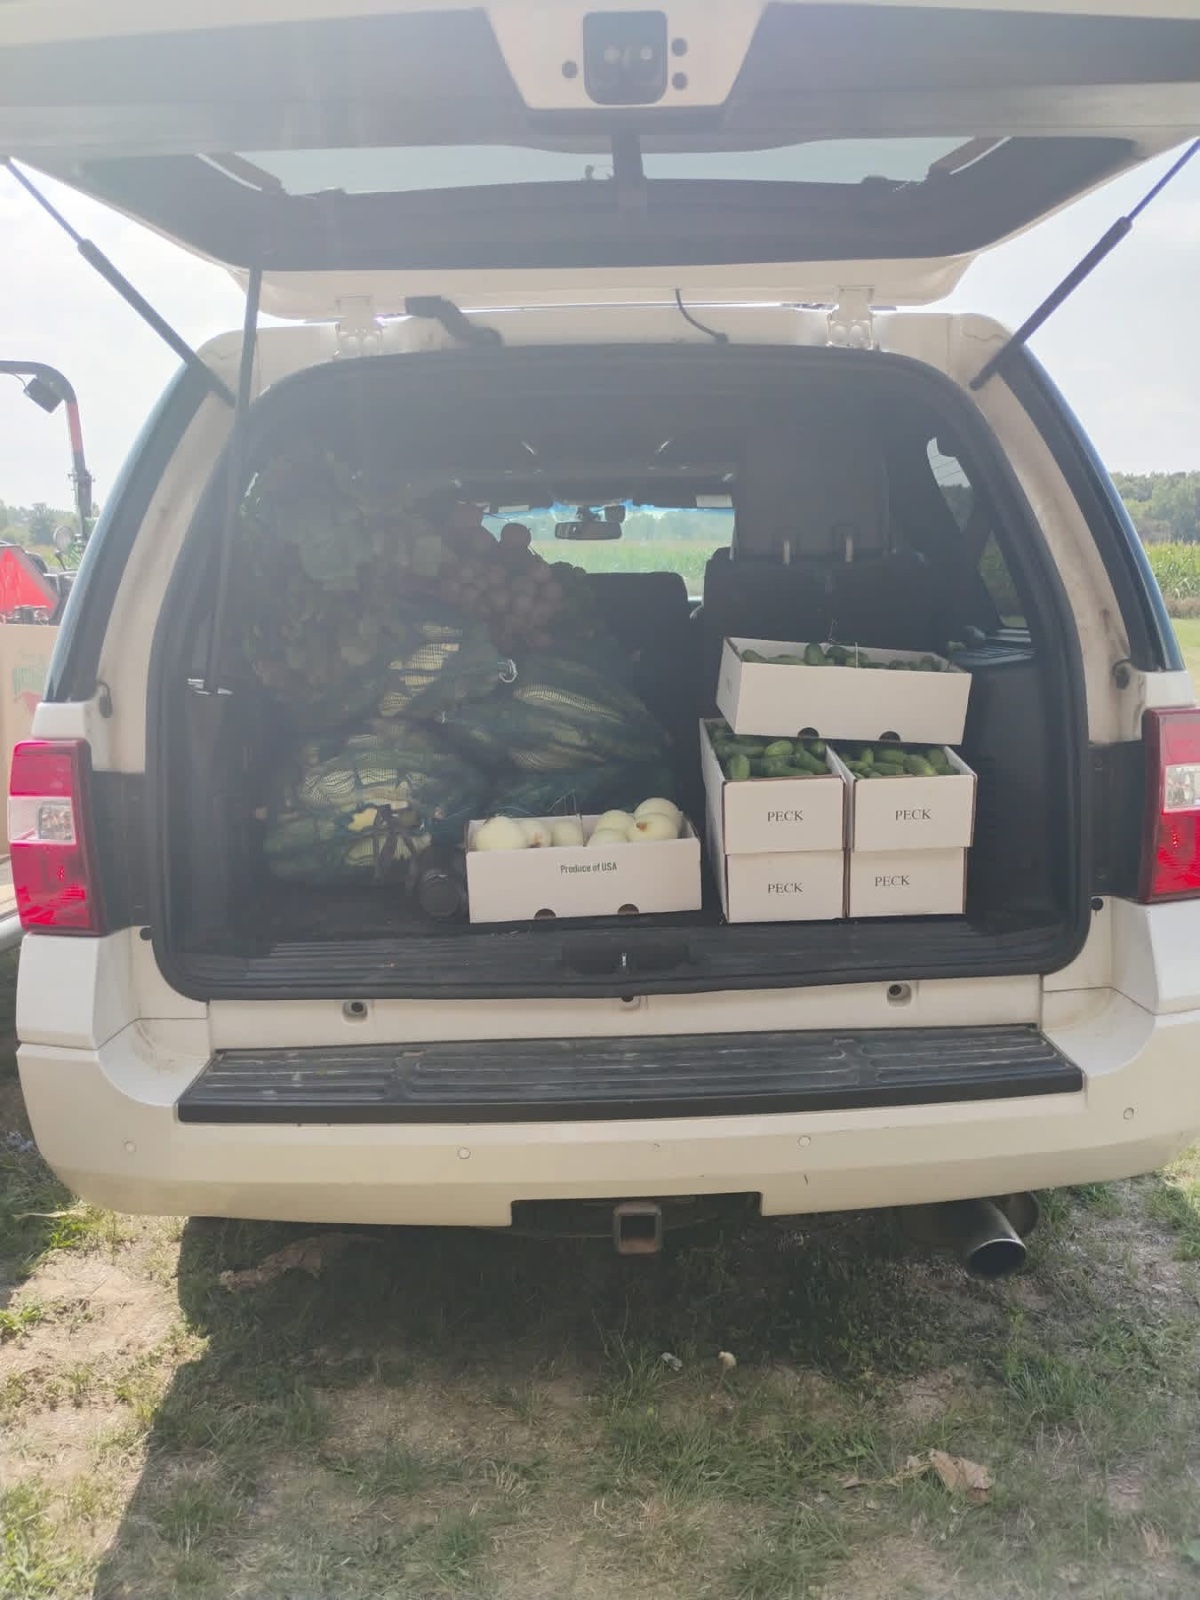
# Home Canning & Produce Harvest
Home canning is a rewarding way to preserve the nature’s bounty of produce, ensuring that you can enjoy homegrown flavors throughout the year. The process of harvesting and canning not only allows you to save money but also gives you control over the ingredients, making it a healthier alternative to store-bought products. In this comprehensive guide, we will explore the essentials of home canning and how to maximize your produce harvest effectively.
## Understanding Home Canning
Home canning involves the process of sealing food in airtight containers to prevent spoilage and preserve flavor. By removing air and sealing jars, you prevent harmful microorganisms from developing. There are primarily two methods of canning: water bath canning and pressure canning, each suitable for different types of produce.
### Water Bath Canning
Water bath canning is ideal for high-acid foods, which include fruits, pickles, jams, and tomatoes. This method involves boiling the filled jars in water for a specific amount of time, ensuring that the high temperature destroys bacteria, yeasts, and molds.
### Pressure Canning
On the other hand, pressure canning is suited for low-acid foods such as vegetables, meats, and poultry. This method uses high pressure to achieve the necessary temperatures to kill bacteria effectively.
## Best Produce for Home Canning
When harvesting produce for canning, it’s important to choose fresh, ripe fruits and vegetables. Here are some of the best produce options for home canning:
### Fruits
1. **Peaches**: Juicy and ideal for canning, peaches can be preserved in syrup or as peach jam.
2. **Tomatoes**: A staple in many households, tomatoes can be canned as whole fruits, salsa, or sauces.
3. **Apples**: From apple sauce to apple pie filling, apples are versatile for various canning recipes.
4. **Pears**: Sweet and succulent, pears can be canned alone or mixed with other fruits for a delightful blend.
### Vegetables
1. **Green Beans**: Fresh green beans maintain their crunch when canned properly.
2. **Corn**: Sweet corn is a favorite choice for home canners and adds sweetness to dishes throughout the year.
3. **Carrots**: Carrots can be canned in slices or chunks, perfect for soups and stews.
4. **Beets**: Rich in flavor, beets make an excellent pickling option.
## Tips for a Successful Harvest
Harvesting your produce at the right time can greatly enhance the quality of your canned goods. Here are some tips to ensure you gather the best:
### Timing is Everything
Fruits and vegetables should be picked at their peak ripeness. This is when they are most flavorful and nutrient-dense. For instance, tomatoes should be harvested when they are fully red and firm but slightly soft to the touch.
### Morning Harvest
Consider harvesting your produce in the morning when it is cooler. This helps preserve freshness and flavor as high temperatures can cause fruits and vegetables to wilt.
### Avoid Overripe Produce
While it can be tempting to use overripe fruits or vegetables, it’s best to avoid those, as they may lead to spoilage during the canning process.
## Preparing Produce for Canning
Proper preparation of your produce is crucial to successful canning. Follow these steps for the best outcomes:
### Wash Thoroughly
Before canning, wash your fruits and vegetables to remove dirt, pesticides, and other contaminants. Use a produce brush for firm vegetables like carrots and potatoes.
### Cut and Slice
Depending on the canning method and recipe you choose, you may need to slice, dice, or chop your produce. Uniform cuts ensure even cooking and packing.
### Blanching
For certain vegetables like green beans and carrots, blanching is recommended. Blanching involves briefly boiling the vegetables and then cooling them down in ice water to stop the cooking process. This helps preserve color and texture.
## Canning Process Step-by-Step
Once your produce is prepped, it’s time for the canning process. Here’s a straightforward guide:
### Assemble Your Equipment
– Canning jars (wide-mouth jars are ideal for chunky items)
– Jar lids and rings
– A large pot (for water bath canning) or a pressure canner
– A jar lifter
– A funnel
– A ladle
– A bubble remover tool
### Sterilize Jars
Before filling your jars, sterilize them in boiling water for 10 minutes. This removes any bacteria and prepares them for sealing.
### Fill Jars with Produce
Using a funnel, fill jars with your prepared produce, leaving appropriate headspace (usually 1 inch) at the top. This space is vital for expansion during processing.
### Seal and Process
Wipe the rim of jars with a clean cloth to remove any residue and place the lids on top. Screw on the rings until they are fingertip tight. Process the jars in a boiling water bath or pressure canner according to your recipe’s guidelines.
### Check Seals
After processing, remove jars and let them cool for 12 to 24 hours. Check seals by pressing down in the center of each lid. If it pops back up, the jar has not sealed properly and should be refrigerated or re-canned.
## Storing Canned Goods
Once sealed, store your canned goods in a cool, dark, and dry place. It’s vital to keep them out of direct sunlight to maintain the quality of the food. Properly canned goods can last for up to a year, especially if stored in optimal conditions.
## Conclusion
Home canning is an enjoyable and fulfilling way to preserve your harvest, allowing you to savor summer flavors all year round. By selecting the right produce, preparing properly, and following safe canning practices, you can create delicious and healthy meals for your family. Whether you’re a seasoned canner or just starting, the art of home canning can enhance your culinary skills and contribute to a sustainable lifestyle. Embrace the challenge, enjoy the process, and relish in the satisfaction that comes from canning your very own produce harvest!